A church volunteer in Greenwood slipped on a loose wheel stop last winter. It had shifted six inches and she went down hard. The board had been patching things for years. After that, they called us in. We replaced every unit and realigned the striping. The lot looked cared for again—and the liability headache vanished.
Wheel stops—parking bumpers, curb stops, whatever you call ‘em—do a lot of quiet work. They guard building walls, landscaping, walkways, and signs. They keep cars from rolling too far forward where there’s no raised curb. They define stalls so folks park straight (mostly). But when they’re busted, loose, or in the wrong spot, they become a trip hazard and a lawsuit magnet. If you manage a retail center, medical office, church, school, or HOA in Indianapolis, Carmel, Fishers, or any surrounding town, you’ve probably got a few that need attention.
When a Wheel Stop Needs Replacing
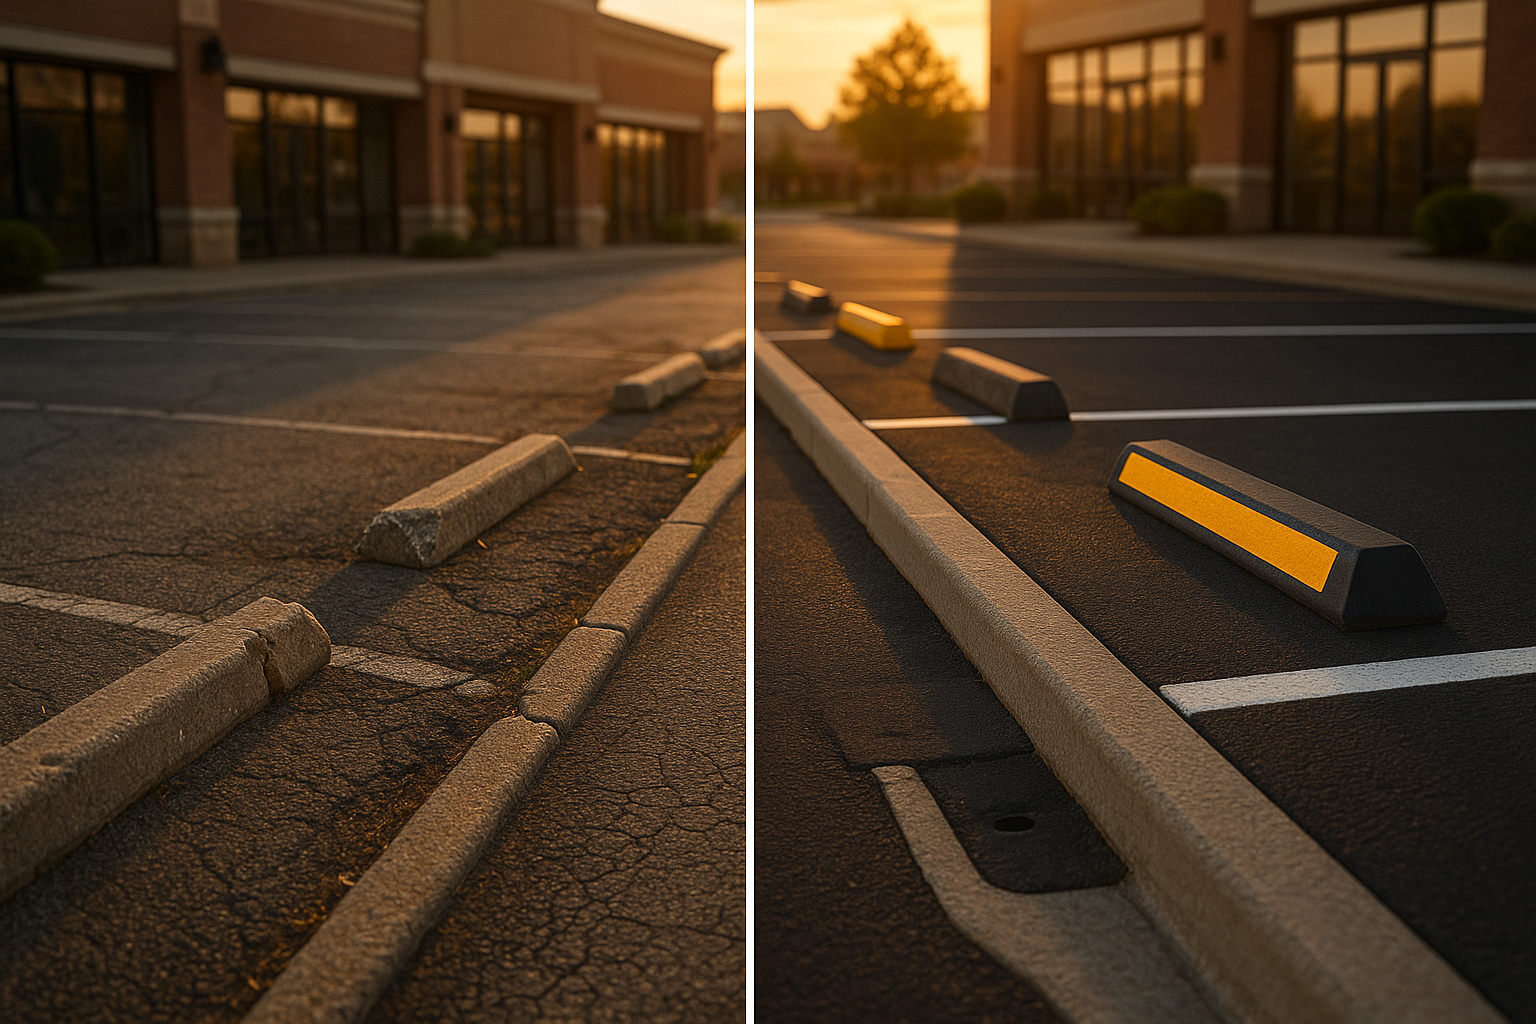
If the hardware is just loose and the concrete block is still sound, you might get away with re-anchoring. On asphalt, that means driving new spikes or rebar pins. On a concrete pad, you’d use sleeve anchors or bolts. But once you see spalling—that crumbly, flaky surface rot—or broken ends, missing chunks, or the whole thing has migrated a foot from where it should be, it’s time for a full wheel stop replacement. In the Indianapolis area, freeze–thaw cycles and road salt speed up concrete decay. Water gets into micro-cracks, freezes, expands, and pops the surface apart. After a couple winters, some stops look like they’ve been hit with a hammer. If the block rocks when you nudge it with your shoe, don’t bother with a patch job. Replace it.
I’ve seen plenty of lots where a property manager keeps adding new hardware to crumbling concrete. It’s like putting a band-aid on a broken bone. You’re better off pulling it out, patching the asphalt underneath, and setting a fresh unit. That way you get a solid base and correct alignment.
Which Material Works for Indy Lots?
You’ve got three main choices: concrete, rubber, and recycled plastic. Each makes sense depending on your site.
Concrete wheel stops are the classic. They’re heavy, cheap per unit, and stay put when anchored right. But they hate salt and freeze-thaw. Spalling is common. And if a snow plow taps one—which happens all the time during an Indy winter—it can crack right through. Still, for a quiet church lot in Westfield that sees a plow maybe four times a season, concrete is fine.
Rubber wheel stops are more forgiving. A plow blade can ride over them without wrecking the block or the plow. They won’t spall, and the color is molded in so you’re not repainting every spring. Lighter weight makes installation faster. For a busy strip mall along Keystone or 82nd Street where plows run all night, I’d lean rubber. The initial cost is a bit higher, but they last longer before you need another parking bumper replacement.
Recycled plastic wheel stops are the new kids. Super lightweight, corrosion-proof, and they laugh at salt. They can look sharp on a medical office lot in Carmel where appearance matters. They’re often the priciest option, but you skip the spalling problem forever. Just be sure to anchor them deep because their light weight makes them prone to wandering if they’re not pinned down tight.
No matter the material, hardware is key. Stainless steel or hot-dip galvanized anchor pins are worth the extra dollar. Regular steel will turn to rust flakes after a couple seasons of brine. We always match the hardware to the surface: spike pins for asphalt, expansion anchors for concrete pads.
Placement: More Than Just Slapping It Down
A wheel stop needs centered in the stall, set back consistently from the front stripe. In most lots, that’s about 3 feet back from the line, but it varies with vehicle overhang and sidewalk clearance. I once saw a strip center in Avon where every stop sat at a different depth because they’d been patched in piecemeal over a decade. It looked like a jack-o-lantern smile and confused drivers. Proper spacing keeps everything uniform and predictable.
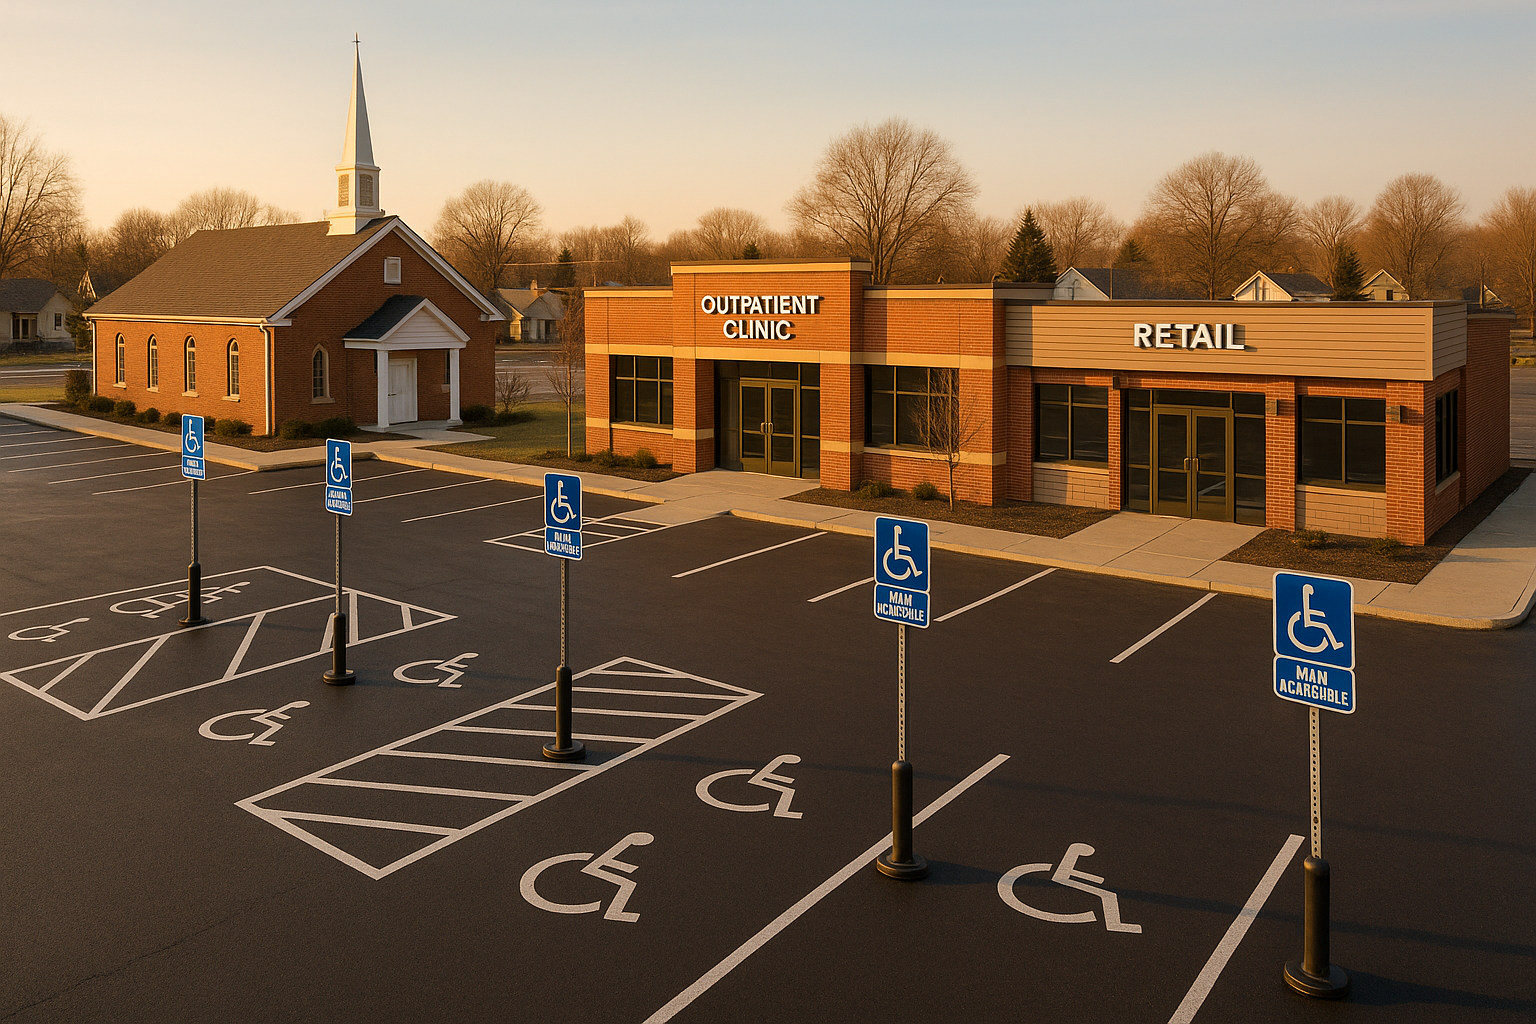
ADA rules are a big deal. Wheel stops near accessible stalls and aisles can’t block the required clear width. The path from the parking space to the access aisle has to be open and level. If a stop protrudes or forces a wheelchair user to detour, you’ve got a compliance issue. We always measure twice and check the latest Indiana ADA guidelines. Often, when we do a wheel stop replacement, we recommend adjusting the striping layout to make everything work together. Speaking of which, pairing the work with a restripe is smart. You’re already closing down some spaces; might as well get fresh, crisp lines. Check out our breakdown of parking lot striping costs to see how the two projects complement each other.
Surviving Snow Plows and Indiana Winters
If you manage a lot in Fishers or Noblesville, you know the drill: plow arrives, blade scrapes, and anything sticking up gets battered. Wheel stops take the hits. I’ve seen rows knocked completely loose after one storm because the anchor pins were too short or the asphalt was too thin in front of the stops.
To plow-proof your lot, pick a plow-friendly material like rubber or plastic. Use taller pins—8 inches or more—driven into fresh asphalt. It also helps to paint the front face bright yellow with reflective tape so the plow driver can spot them, even at 4 a.m. during a whiteout. Little details like that save serious money over time.
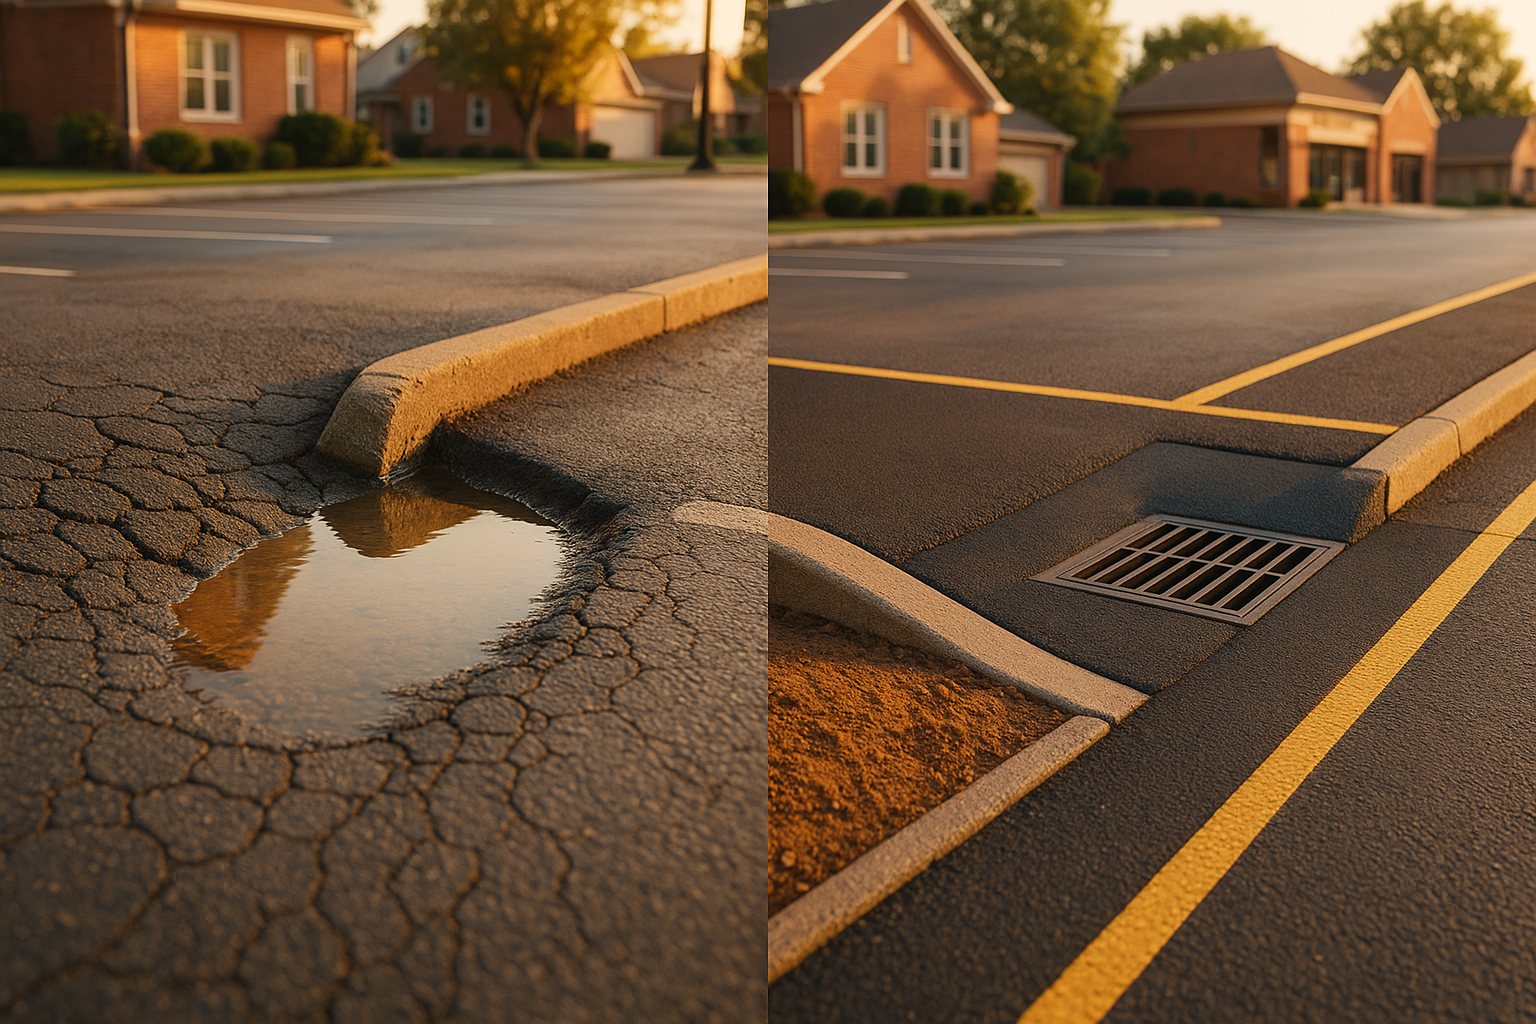
Don’t forget drainage. If you set wheel stops tight against a curb, water can pond and freeze into a slick patch. Leave a gap so melt-off can flow past. This is especially important in flat lots common around Greenwood and Plainfield.
Bundling wheel stop work with sealcoating is a no-brainer. When the old surface gets a fresh layer, we punch new anchor holes and set everything true. Our guide on when to sealcoat in Indiana walks through timing so you get the most life out of the surface.
How We Handle Wheel Stop Replacement
At PavementPros, we start with a free site walk. We count every existing wheel stop, flag the bad ones, check striping alignment, and listen to your plowing routine. Then we recommend a material and a phasing plan that keeps you operating. For a busy grocery in Broad Ripple, we might knock out a couple rows overnight. For a school in Zionsville, spring break is ideal. We can bundle with crack filling or asphalt patching—if your asphalt is spongy under the blocks, replacing them won’t last unless you fix the base first. See our post on crack filling vs. patching vs. repaving for more on that.
You get a written scope, a map of the layout, and an honest quote. No surprises. If your lot has wobbly parking bumpers, missing chunks, or stops that don’t line up with the stripes, give us a holler. We’ll come out, put eyes on it, and give you a practical plan. Grab a free consultation at [/#quote]. We’re not about upselling; we’re about making your lot safe and sharp so you can worry about bigger things.
Ready for a free lot assessment?
We walk the lot, photograph the problems, and hand you a written plan — no pressure, no obligation.