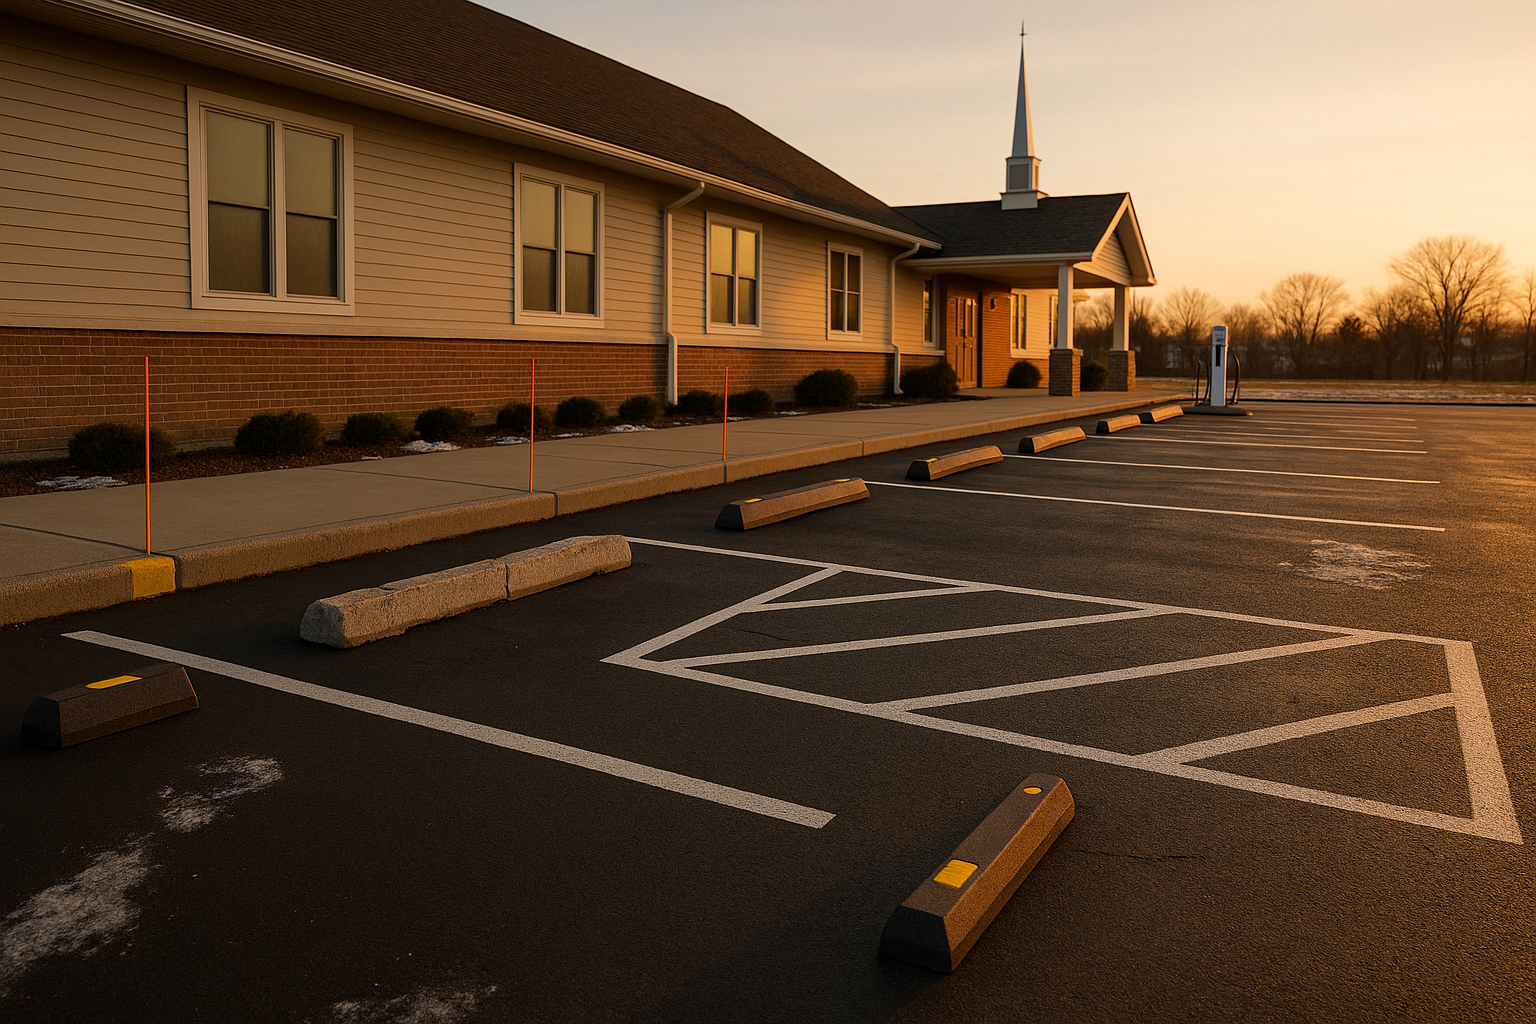
I got a call last summer from a church trustee in Greenwood. Their lot had fresh stripes, but one of the old concrete wheel stops had cracked over winter and was jutting up like a broken tooth. A parishioner tripped—no injury, but it scared everyone. They wanted to replace them, but had no idea what that should cost. If you're managing a lot in Indianapolis or the 'burbs, you've probably faced the same head-scratcher. Let's break down real numbers for wheel stop installation around here, without the fluff.
So, what's the actual installed price per stop?
When you're pricing wheel stop installation cost Indianapolis, the range you'll see is $85 to $185 per wheel stop, fully installed. That includes the material, anchors or adhesive, labor, and basic layout. A big office park in Westfield ordering 50 stops will hug the lower end. A small retail strip in Broad Ripple putting in just six? Expect the upper end, maybe even $200 a pop if the asphalt's chewed up.
Material-only costs run about: - Concrete: $35–$60 - Recycled rubber: $45–$75 - Plastic/composite: $70–$120
Labor adds $35–$75 per stop on a straightforward lot. But there are always "oh, by the way" items—patching crumbled asphalt, removing old stops, weird anchor depths—that nudge the bill. One strip mall in Avon had asphalt so thin we had to switch to epoxy-set pins mid-job, adding about $12 per stop. It's worth a walkthrough before quoting.
Rubber, concrete, or composite? Picking the right material for Indianapolis weather
Our freeze-thaw cycles are brutal on concrete. I've seen five-year-old concrete stops in Noblesville spalled so bad the rebar was showing—road salt just eats them alive. Rubber and composite flex with the temperature swings and don't mind snowplow nudges nearly as much. Rubber stops are also quieter when a car bumps over (no loud SCRAPE), and they won't chip your front bumper. Composite is the priciest but lasts forever and looks clean. If you're on a tight budget, concrete works—just plan on replacing them sooner, especially near plow routes.
Concrete vs Rubber: a quick breakdown
- Concrete: Cheapest upfront. Spell danger in winter. Heavy, hard to install solo. If a plow catches the edge, it can snap. We see a lot of these in older Indianapolis lots getting replaced with rubber.
- Rubber: More upfront, but fewer callbacks. They handle salt and sun without fading or cracking. Some people worry about odor—we've used recycled rubber stops from a regional supplier for years and once they're cured, you don't smell 'em. They work great in Fishers and Zionsville neighborhoods where HOA boards want a polished look.
- Plastic/composite: Top shelf. Perfect for EV charger spots or storefronts where you want a sleek appearance. They bolt down tight and stay put.
So, for most Indy-area lots, I'd steer you to rubber. The parking bumper cost differences pay for themselves over time.
Anchor types and what your asphalt or concrete really needs
How you anchor matters more than the stop itself. On asphalt, we typically drill a vertical hole and pound in a galvanized rebar pin—the stop's hole is slightly tapered so it bites as you drive it home. This works great if your asphalt is at least 2 inches thick. If it's thinner (common in older Brownsburg lots), we might use an epoxy-set pin that spreads the load. On concrete surfaces, we use wedge anchors or epoxy-set threaded rod. The last thing you want is a stop shifting into a tight stall or popping loose under a plow.
Here's a story: a facility manager in Zionsville had concrete stops installed with short nail-in anchors by a handyman. First snowfall, the plow caught three of them and tore them clean out, leaving anchor holes that promptly filled with water and froze. That spring, we had to patch spalled spots before installing new rubber stops. Proper anchoring isn't a corner to cut; it's cheap insurance.
How many stops? Layout, setbacks, and ADA
A common question: "Do I need a wheel stop in every stall?" Nope. They're most useful near sidewalks, building edges, EV chargers, light poles, or anywhere you want to protect something. In the middle of a big open lot, you might skip them—striping alone can define spaces, and wheel stops can be trip hazards if overused.
ADA rules don't require wheel stops, but where you have an accessible aisle, the stop must not protrude into the clear space. Indiana code follows federal guidelines: keep a minimum 2-foot setback from the curb or sidewalk line. That means careful layout. For a 15-stall accessible area in Carmel, we spent an extra hour marking positions to avoid encroachment. It's worth it. For more on ADA specifics, check out our Indiana ADA parking requirements breakdown.
Typical setbacks from the front stripe are 2–3 feet, depending on vehicle overhang. Too close to the sidewalk, and someone gets a nasty surprise. Get it right once.
Why local planning matters (and how to avoid winter headaches)
Indianapolis weather doesn't mess around. Plow blades are the number one killer of wheel stops. If you're managing a lot, make sure your snow crew knows where the stops are. We recommend reflective end caps ($3–$12 per stop) and even temporary fiberglass plow markers until drivers learn the layout. A church in Noblesville we worked with lost half their concrete stops over two winters before switching to rubber with markers. Now? Zero damage.
Also, timing your install matters. Adhesive-set anchors need temps above 50°F to cure properly. In late fall or early spring, we lean on mechanical anchors to avoid delays. A lot in Plainfield got done in November by using all pin-driven anchors; no issues. If you're coordinating sealcoating or restriping, do the wheel stops after—otherwise, you'll have to work around them or touch up lines. Speaking of which, if your lot needs fresh stripes, take a look at our striping cost guide. And if your asphalt has cracks or potholes, handle those first. We've got a guide on crack filling vs patching vs repaving that might help.
Let's get a real number—no surprises
Every lot is different. That's why we always do a free site walk. We'll measure your existing conditions, talk about snow plow patterns, check for drainage issues, and give you a written, line-item quote with a marked-up drawing. No pressure. We work in all the areas we mentioned: from the tight downtown lots to sprawling church properties in Greenwood and Brownsburg.
If you're comparing bids, ask: Are they including removal of old stops? Patch and cleanup of anchor holes? What warranty on anchoring? Do they use stainless or galvanized hardware? (We use hot-dip galvanized and sometimes stainless for high-corrosion spots.) A cheap quote that skips these details can cost you later.
When you're ready, request a free assessment. Let's make sure your lot is safe, compliant, and ready for whatever Indiana weather throws at it.
Ready for a free lot assessment?
We walk the lot, photograph the problems, and hand you a written plan — no pressure, no obligation.